![]() We bought a QNAP recently to be able to host backups to the companies that we built servers for in the past. The backups are made with Rsync, which is a very nice piece of software that keeps folders and servers in sync.
We bought a QNAP recently to be able to host backups to the companies that we built servers for in the past. The backups are made with Rsync, which is a very nice piece of software that keeps folders and servers in sync.
Of course, we could have built our own dedicated backup server, but we like the small format that the QNAP has, and also the hotswap RAID possibility. And to be honest, we got the TS 269-PRO pretty cheap.
As we didn’t find any useful information about how to set it up, here is a guide we made:
-
SSH in on the local ip / myqnapcloud.com
To be able to set up the script and do the SSH config, you have to go to the terminal. We tried the GUI, but we thought that using the terminal is easier and more straightforward.
a: Locally:
$~: ssh admin@your-qnap-ip-address
b: With myqnapcloud.com:
$~: ssh admin@your-qnap.myqnapcloud.com
-
Login
user: admin
pass: your-admin-password -
Copy the SSH key from your qnap
Go to /root/.ssh and copy the content of id.rsa.pub
$~: vi /root/.ssh/id.rsa.pub
Exit vi with
:q!
-
Go to your servers authorized_keys
Depending on your SSH setup the directory could be different. The easiest is to store them in root, and then the folder path would be like this:
$~: vi /root/.ssh/authorized_keys
Paste the content from step 3 your servers authorized_keys.
-
Save vi with
:wq!
-
If you don’t have a /.ssh folder in your server
Then you need install SSH with the command (continue to step 8 otherwise)
:~$ sudo apt-get install openssh-server
And then create the authorized_keys file with
:~$ touch /root/.ssh/authorized_keys
-
Now restart your SSH on your server
:~$ service ssh restart
-
Test SSH in to your server from the QNAP with
$~: ssh user@your-server-ip
If this works you can go ahead with next step, if it doesn’t work – fix the issue first. Next step will lock yourself out of your system if the key is wrong.
-
Edit the sshd_config on your server
$~: vi/etc/ssh/sshd_config
Don’t allow passwords, look for this row
# Change to no to disable tunnelled clear text passwords
PasswordAuthentication no
-
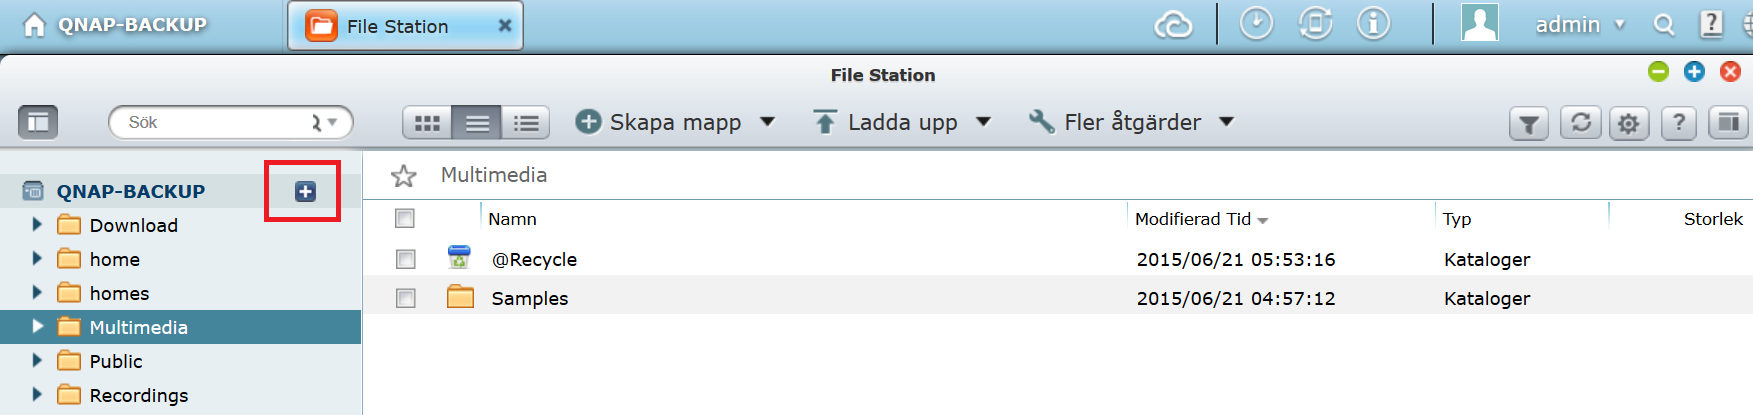
Go to your QNAP GUI
Create the folders you want to make the backup to. In this example we are going to name it “yourserver.se”. The easiest way to create the folders are with File Station.
-
Upload your Rsync Script to each the folders of each server on your qnap.
-
Add the servername.excludes file in /share
$~: vi /share/CACHEDEV1_DATA/yourserver.se/servername.excludes
If you put it in /etc/ it will be destroyed during reboot.
-
Test your script from your QNAP SSH terminal with
$~: bash /share/CACHEDEV1_DATA/backup-servername.sh
- Congratulations, you’ve made it!